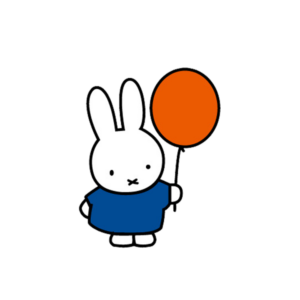
It’s Miffy Time!
I first saw this cute little hat on TikTok and immediately fell in love with it (watch here).
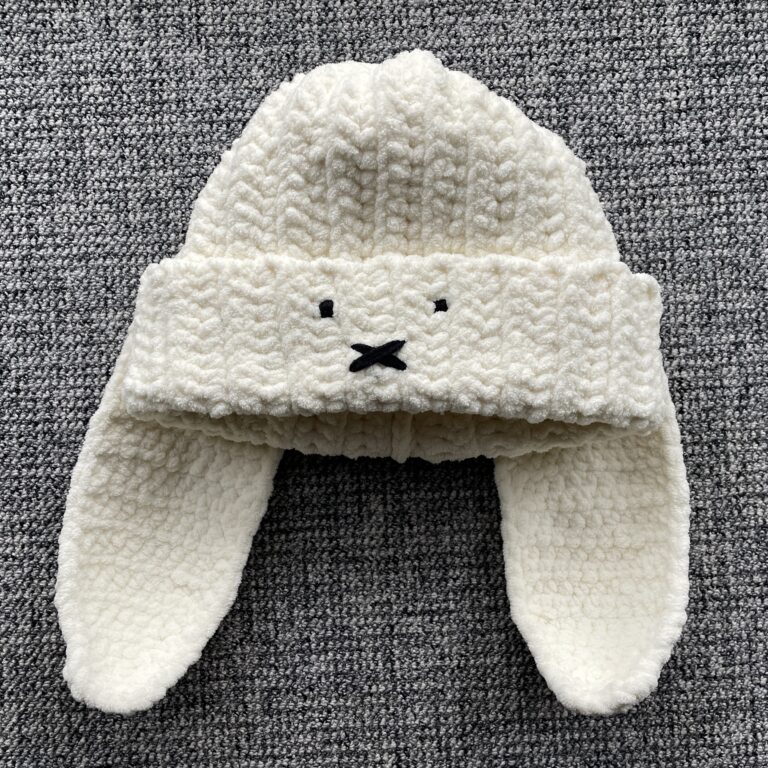
The underlying idea is very simple: find a pattern of your choice for the beanie/hat, then make and sew on the two ears. Add some eyes and a mouth on the fold, and you’re good to go!
The pattern for the beanie I got here, and the pattern for the ears I got here.
As always, check out and read the full pattern first before you start working!
And here I already learned an important lesson for crochet: there is a lot of room for customization, and often the coolest patterns are created when you mix and match different ones.
This was my second big project and I can confidently say that it is very beginner friendly: you only need to know how to do chains, single and half double crochet, and slip stitches. Stitches can be skipped instead of placing decrease stitches, and the sewing works more with eye measurement than anything else. So no reason to be scared of the sewing, too!
It requires one to pay a little bit of attention to the pattern, so I don’t recommend turning off your head altogether, as I did with my scarf.
Happy crocheting!
Materials
- US 11/8mm hook
- Bernat Blanket yarn, vintage white (1 1/2 skeins)
- black yarn for embroidery
- embroidery needle
- scissors
Instructions
The Hat
ch 34 + 1
hdc in 2nd stitch from hook, then hdc until last 5st sc in last 5st
ch 1, turn work
repeat until it fits around head
- make a slst to connect one short end with the other, then sc all across. this will create the seam
- cut the working and leave a long tail
- weave the tail through the end of the single crochets, pull close (not too tight!) and weave in the remainder of the tail
- fold the beanie inside out so that the seam is hidden on the inside
- create a fold, you can make it as broad or narrow as you’d like
The Ears
–
Row 1
Row 2
Row 3
–
Row 4
Row 5
–
Row 6
–
–
Row 1
–
Row 2
–
Row 3
Row 4
–
Row 5
ch 7
hdc in 2nd chain from the hook, hdc across, ch 1, turn work
hdc in each st, ch 1, turn
hdc in 1st st, hdc inc in next, 2 hdc in next 2 st, hdc inc in next, hdc in last, ch 1, turn
hdc in each st, ch 1, turn
hdc in 1st, hdc inc in next, hdc in each next 4 st, hdc inc in next, hdc in last, ch 1, turn
hdc in each, ch 1, turn
repeat until desired length (recommended: 12 inch)
hdc in 1st, skip next, hdc across, skip next to last, hdc in last st, ch 1, turn
hdc in 1st, skip next, hdc across, skip next to last, hdc in last, ch 1, turn
hdc in each st, ch 1, turn
hdc in 1st, skip next, hdc across, skip next to last, hdc in last, ch 1, turn
hdc in 1st, skip next st, hdc in last, bind off
–
(6 st)
(6 st)
(8 st)
–
(8 st)
–
(10 st)
(10 st)
–
–
(8 st)
–
(6 st)
–
(6st)
(4 st)
- add an edge to the ear: start at the broad end, sc all the way around the edge – curling is normal!
- fold the broad end in half and sew together both sides
- once you have both ears ready, adjust their placement on the head, then sew them on at the broad side which you just folded
- with some black yarn, embroider a face and a mouth onto the fold